文章转自http://www.he11oworld.com/system/2883.html
向原作者标识感谢
本文部分内容有所变更进行了修正处理。
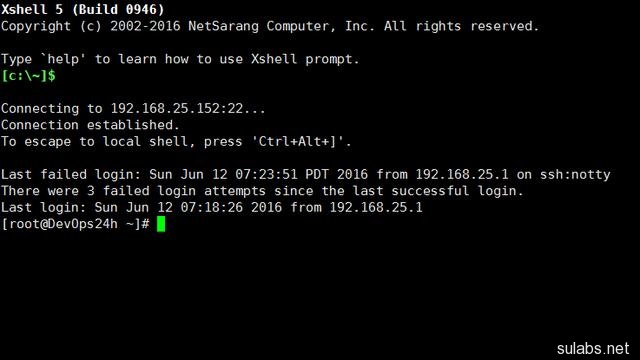
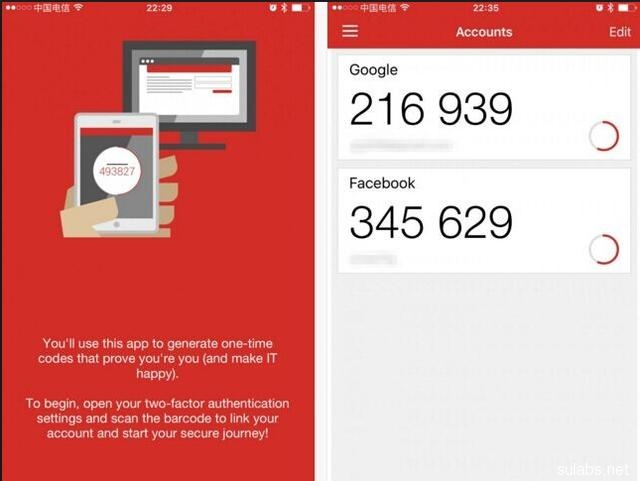
谷歌身份验证器生成的是动态验证码,默认30秒更新。修改配置,SSH登录必须在输入密码之前输入动态验证码。即使账号和密码泄露,验证码输入错误,仍然无法登录。苹果或者安卓手机端可以安装身份验证器App读取验证码。谷歌身份认证器也有其它PHP,JAVA等语言版本,用途广泛。
1.安装前准备
1). Git 地址:https://github.com/google/google-authenticator-libpam.git
2). 安装依赖:yum -y install gcc make pam-devel libpng-devel libtool wget git
3). 开启EPEL源 yum –enablerepo=epel
或者直接安装EPEL源RPM包
# CentOS 6
rpm -Uvh http://mirrors.ustc.edu.cn/fedora/epel/epel-release-latest-6.noarch.rpm
# CentOS 7
rpm -Uvh http://mirrors.ustc.edu.cn/fedora/epel/epel-release-latest-7.noarch.rpm
4).安装Qrencode,谷歌身份验证器需要调用该程序生成二维码并显示
yum install -y qrencode
2.安装谷歌身份验证器
git clone https://github.com/google/google-authenticator-libpam.git
cd google-authenticator-libpam/
编译并安装
./bootstrap.sh
./configure –prefix=/usr/local/google-authenticator
make && make install
复制google 身份验证器pam模块到系统下
cp /usr/local/google/authenticator/lib/security/pam_google_authenticator.so /lib64/security/
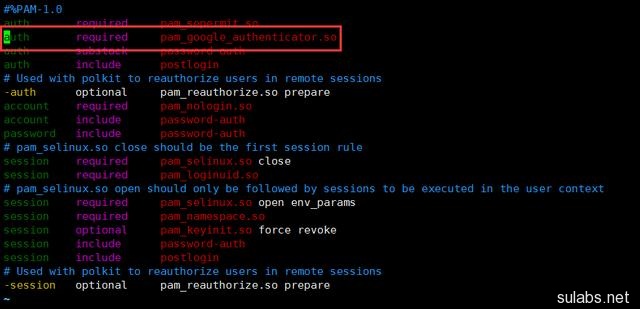
3.配置/etc/pam.d/sshd
添加图中红色框内的一行内容
4.修改SSH服务配置/etc/ssh/sshd_config
ChallengeResponseAuthentication yes
或者用sed修改
sed -i ‘s#^ChallengeResponseAuthentication no#ChallengeResponseAuthentication yes#’ /etc/ssh/sshd_config
5.重启SSH服务
a)RHEL 6 / Centos6
service sshd restart
b)RHEL7 /Centos 7
systemctl resart sshd
6.安装完成,开始验证。
a)切换到需要验证的系统账户,本案例使用root用户。
b)运行程序
./google-authenticator
Do you want authentication tokens to be time-based (y/n) y
# 是否开启基于时间的认证,Y
# 接下来会生成二维码,手机端扫描即可添加安全密钥

Your new secret key is: JS57SLVUDEEA7SQ7LD6BEBWGAA
# 注意这个安全KEY需要备份,当更换手机或安装APP需要添加KEY用于生成验证码
Your verification code is 225960
Your emergency scratch codes are:
# 注意后备验证码保存好,用于紧急使用,每个验证码使用一次后作废
50434230
90718846
71391250
25890913
60265036
Do you want me to update your “/root/.google_authenticator” file (y/n) y
Do you want to disallow multiple uses of the same authentication
token? This restricts you to one login about every 30s, but it increases
your chances to notice or even prevent man-in-the-middle attacks (y/n)
Do you want to disallow multiple uses of the same authentication
token? This restricts you to one login about every 30s, but it increases
your chances to notice or even prevent man-in-the-middle attacks (y/n) y
By default, tokens are good for 30 seconds. In order to compensate for
possible time-skew between the client and the server, we allow an extra
token before and after the current time. If you experience problems with
poor time synchronization, you can increase the window from its default
size of +-1min (window size of 3) to about +-4min (window size of
17 acceptable tokens).
Do you want to do so? (y/n) y
# 安全相关,默认继续
If the computer that you are logging into isn’t hardened against brute-force
login attempts, you can enable rate-limiting for the authentication module.
By default, this limits attackers to no more than 3 login attempts every 30s.
Do you want to enable rate-limiting (y/n) y
# 安全相关,默认继续
7.终端设置google 二次身份验证登陆
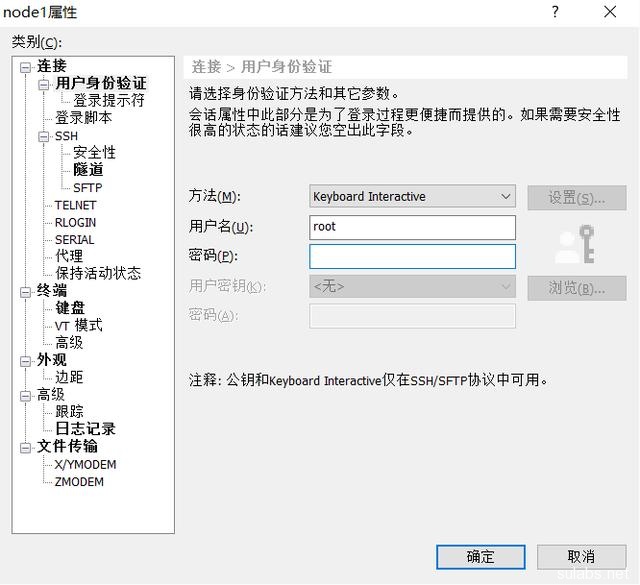
打开xshell(其他终端类似),选择登陆主机的属性。设置登陆方法为Keyboard Interactive 键盘交互方式
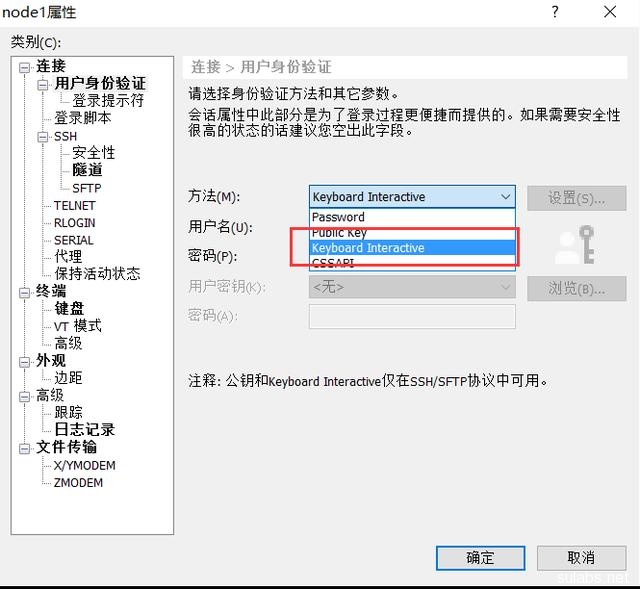
用户名:root(根据实际情况填写)
密码为空就好(因为需要先二次验证,再填入密码)
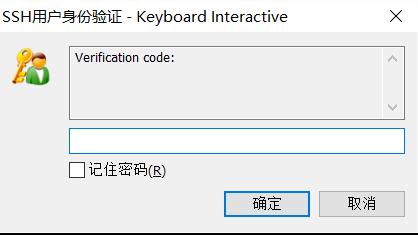
二次验证码输入
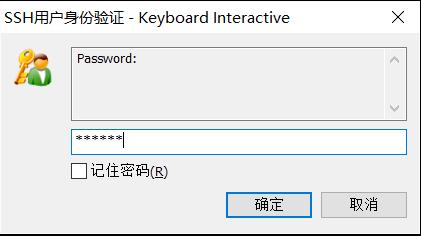
系统用户密码输入
8.完美登陆
